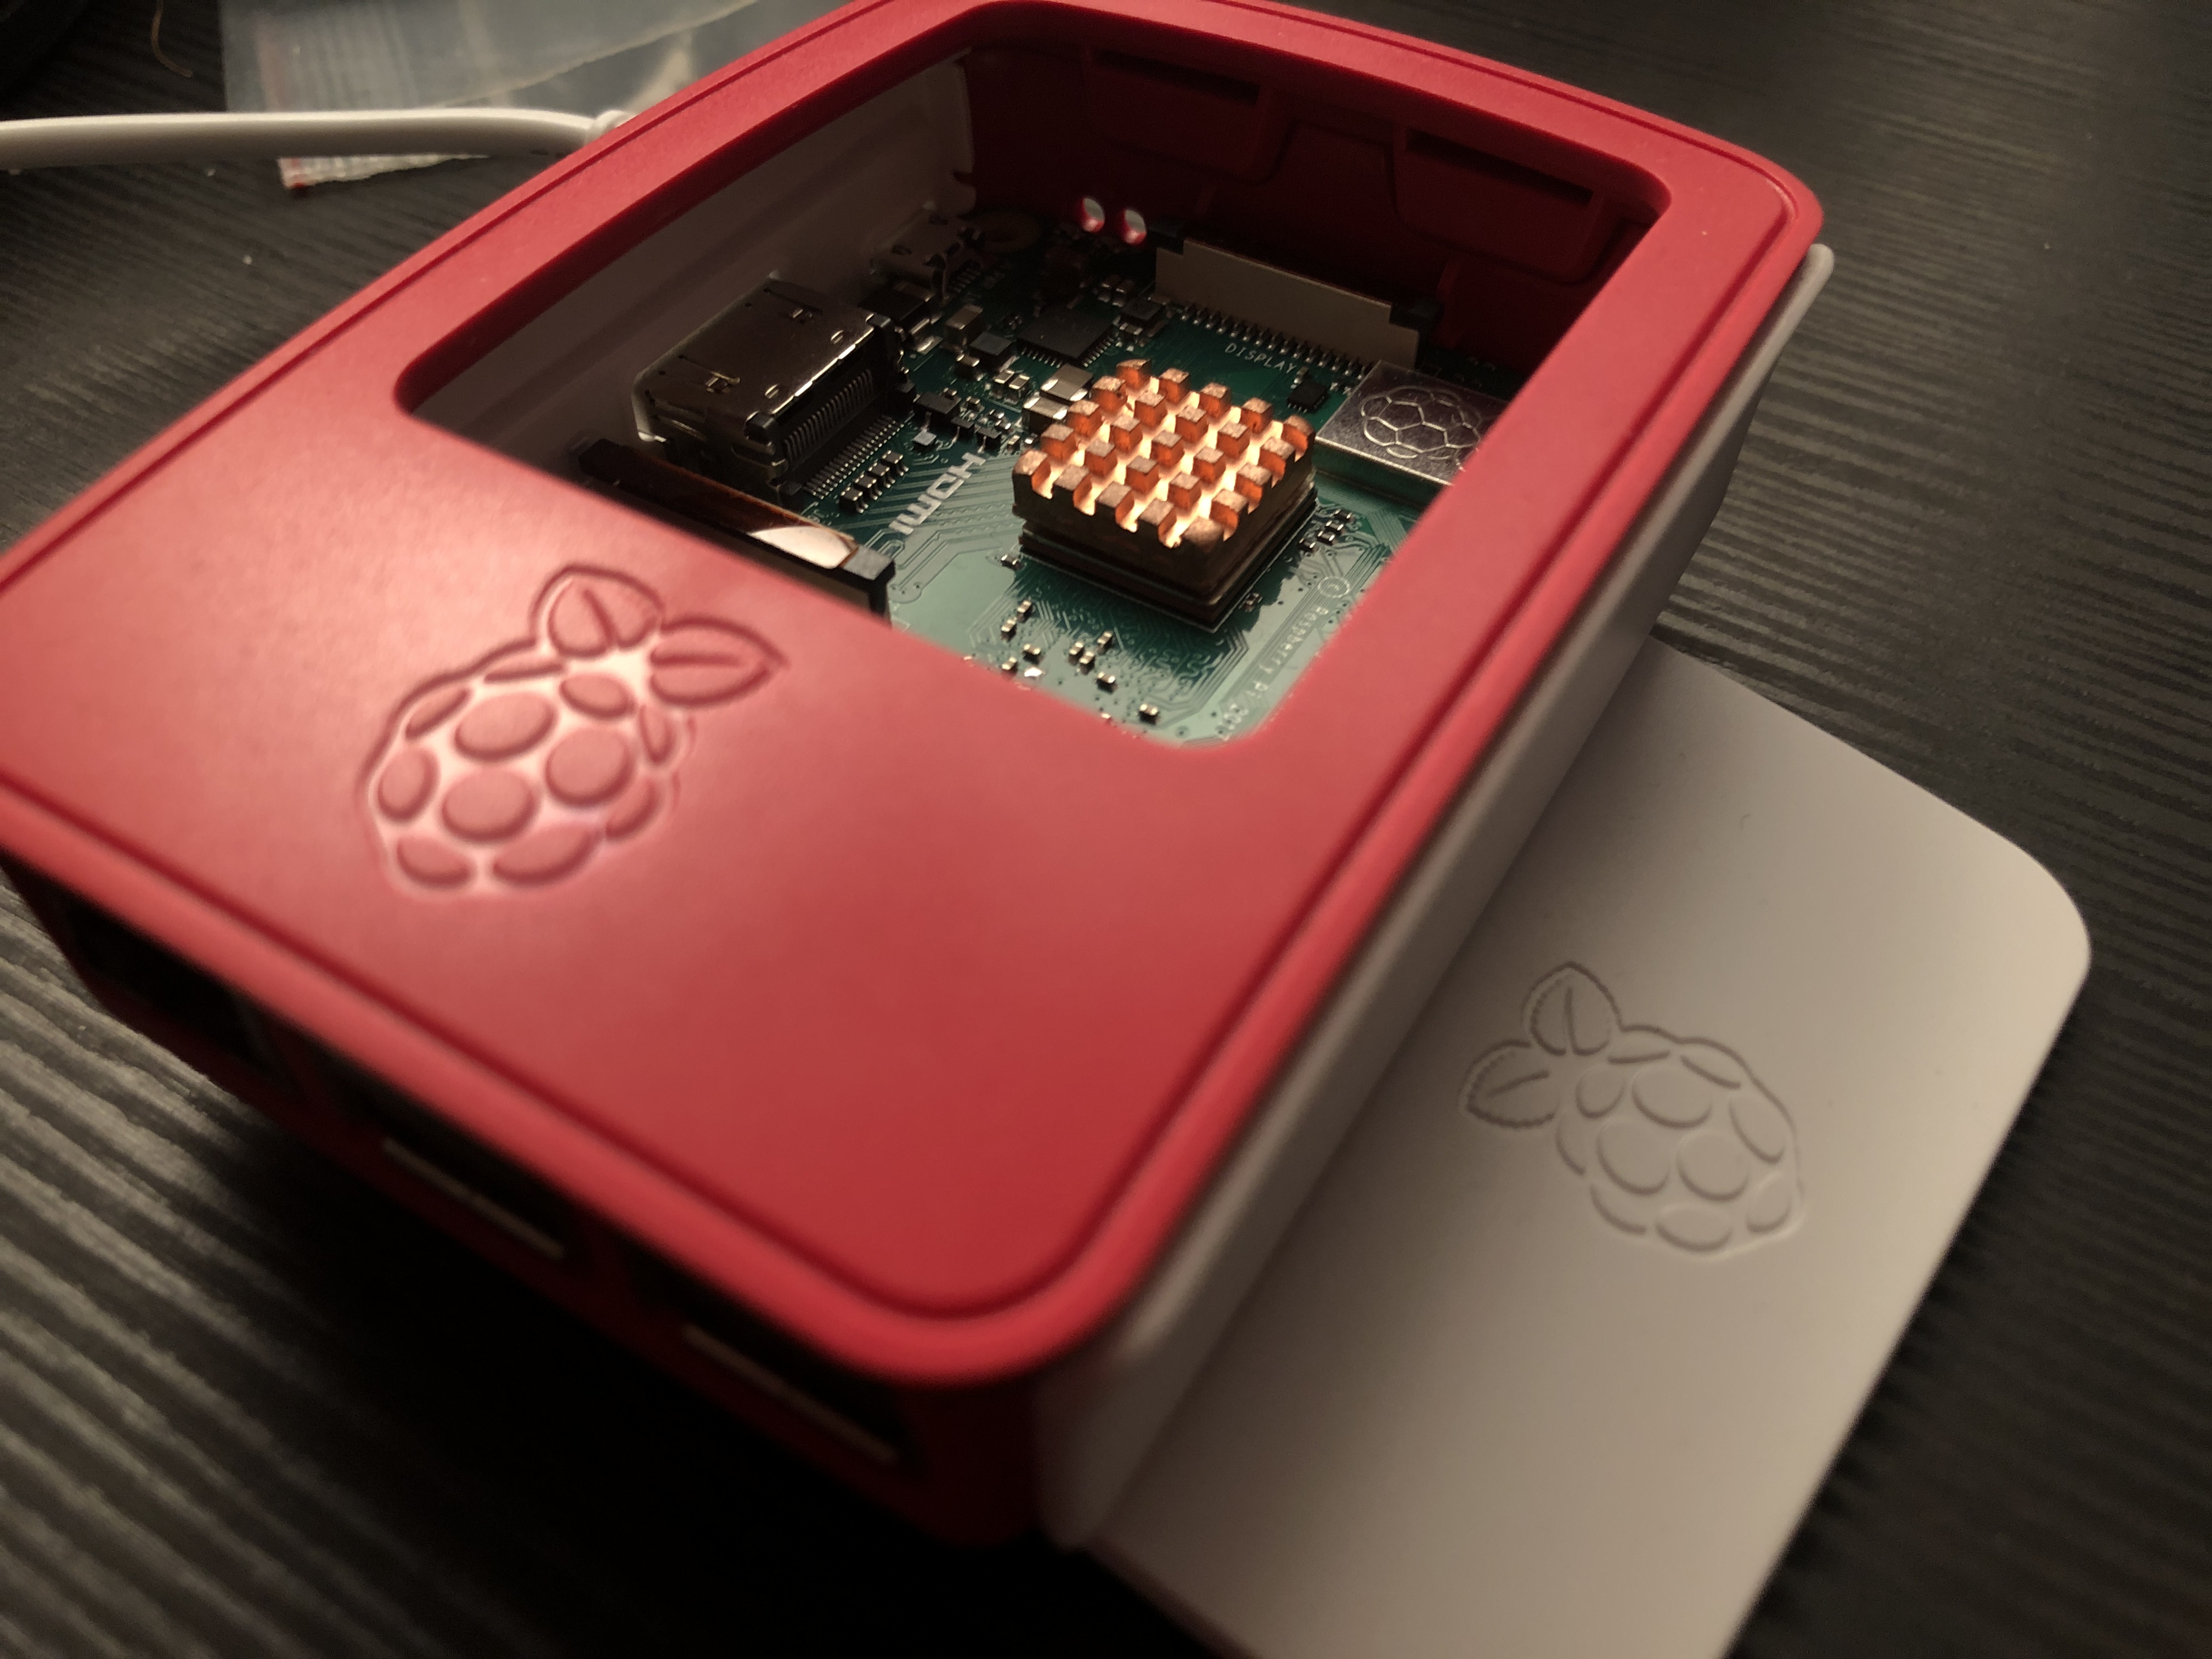
Linux driver development on a Raspberry Pi
written on October 24, 2020
I recently started exploring linux drivers more in-depth, and more specifically I got interested in the practice of cross-compiling them for a different platform (such as the Raspberry Pi). Even though I could develop drivers directly on the RPI, which would be easier since I would be directly compiling against the kernel that’s currently running on the RPI, I think cross-compiling is more fun, and will help us learn a few things along the way.
A simple driver
First things first, let’s write a basic “hello world” driver for our desktop computer, and build it against the desktop’s kernel first:
hello_world.c
Here’s a basic breakdown of this driver:
- Line 1: we import the Linux module header file, because this is a kernel module; any calls to userland functions (such as
printf()) make no sense in the kernel. - Lines 4-9: the initialization entry point. We have the
statickeyword because this function should only be defined and used in this file, and__initbecause it’s good practice (even though this is a dynamic module so the__initdirective will have no effect). We then just print a “hello world” message and return0, like a classicmain“hello world” function would. - Lines 12-15: the de-initialization entry point. Similarly,
staticand__exitare used; the latter is needed since dynamic modules can be unloaded/removed (but again it is good practice to always have these directives). Once more, we print a message using kernel functions. - Lines 18-19: assignment of the entry points using kernel macros
module_initandmodule_exit. - Lines 21-23: various kernel module info (not really necessary in this case but might as well showcase them).
This driver should simply print "Hello, World!" when inserted into the kernel, and "Goodbye, World!" when removed from it.
Compiling for desktop
Let’s first test this driver on the desktop (an x86_64 machine running Ubuntu in my case). In order to do so, we need to compile it against the desktop’s running kernel; but before doing that, we need to add a Makefile in the same directory as our driver in order to mark the module as being dynamic:
Makefile
We can now compile it against the current kernel, to which we will point using /lib/modules/<kernel version>/build/. You can obtain your kernel version by running uname -r; in my case, that path is /lib/modules/5.4.0-52-generic/build:
$ shell
The compilation should work correctly (if not, make sure both the Makefile as well as hello_world.c are in the same directory).
Now we can try to insert our module into the kernel:
$ shell
If errors are produced during this step, you have most likely compiled against the wrong kernel version. If, on the other hand, there are no errors, you can verify that your module works by running dmesg:
$ shell
Finally, let’s flesh out the Makefile to avoid compiling “by hand”:
Makefile
Now we can just run make and make clean to build and clean up.
Compiling for RPI
In order to cross-compile for the RPI, we need two things: the RPI’s specific kernel to compile against, and the appropriate toolchain (compiler, linker etc). But first, we need to know the version of the kernel; to do that, we can connect to the RPI by ssh (I believe the easiest method to turn on ssh in a headless RPI is to just create an empty file called ‘ssh’ in the boot partition of the RPI). Here’s a quick one-liner that allows you to find your RPI, assuming ssh is enabled:
$ shell
The <local_address> can be found using ifconfig (mine is 192.168.1.20). You can then hopefully see your RPI:
$ shell
You can then connect to it (there’s probably a default pi user):
$ shell
In order to get the kernel version, once again we’ll run uname -r. After that, we need to go to the official RPI linux kernel repo and clone the appropriate branch, based on the kernel version.
In my case, I updated the kernel version of my RPI to the current “main” one of the repo (as of the time of writing), which is 5.4.y. So I just need to clone the repo and remain on the “main” branch:
$ shell
Once that is done, we need to first compile the kernel in order to be able to cross-compile drivers using it. Also some dependencies are needed, so make sure you have them:
$ shell
Furthermore, we need a cross-compilation toolchain as mentioned above. My RPI is sporting an armv7 architecture, which is 32 bit; I thus need the 32-bit version of the toolchain:
$ shell
If you have a 64-bit architecture, you need the 64-bit version:
$ shell
Now, we can finally build the kernel. Let’s cd into the source directory and clean up everything just in case:
$ shell
Then we can configure the kernel for compilation (I have an RPI 3B+, so I’ll run the appropriate command):
$ shell
Once the config is generated, we can compile the kernel. It is highly recommended to add the -j n option, where n is roughly the number of processor cores in your computer. You can play around with it though and try greater values; it refers to the number of maximum concurrent jobs the compiler can launch. It is highly recommended because compiling the kernel takes a long time, so might as well parallelize as much as possible.
$ shell
Once the kernel is done compiling, we can finally build our module for the RPI! Let’s add the rules needed in the Makefile we made previously in order to accomplish that:
Makefile
We should now be able to run make RPI_build to cross-compile our driver. If a hello_world.ko file is produced without errors, we can transfer it over to the RPI to test it on the actual machine:
$ shell
We can then ssh into the RPI and load/unload the module to check that it’s working correctly:
$ shell
And just like that, we’ve written, cross-compiled and tested a linux driver for an RPI!